Voronoi right inside Onshape: how my FeatureScript came to be
A Voronoi pattern generator as a custom feature in Onshape — no detour through SVG and DXF, with parameters you can change at any time. Free.

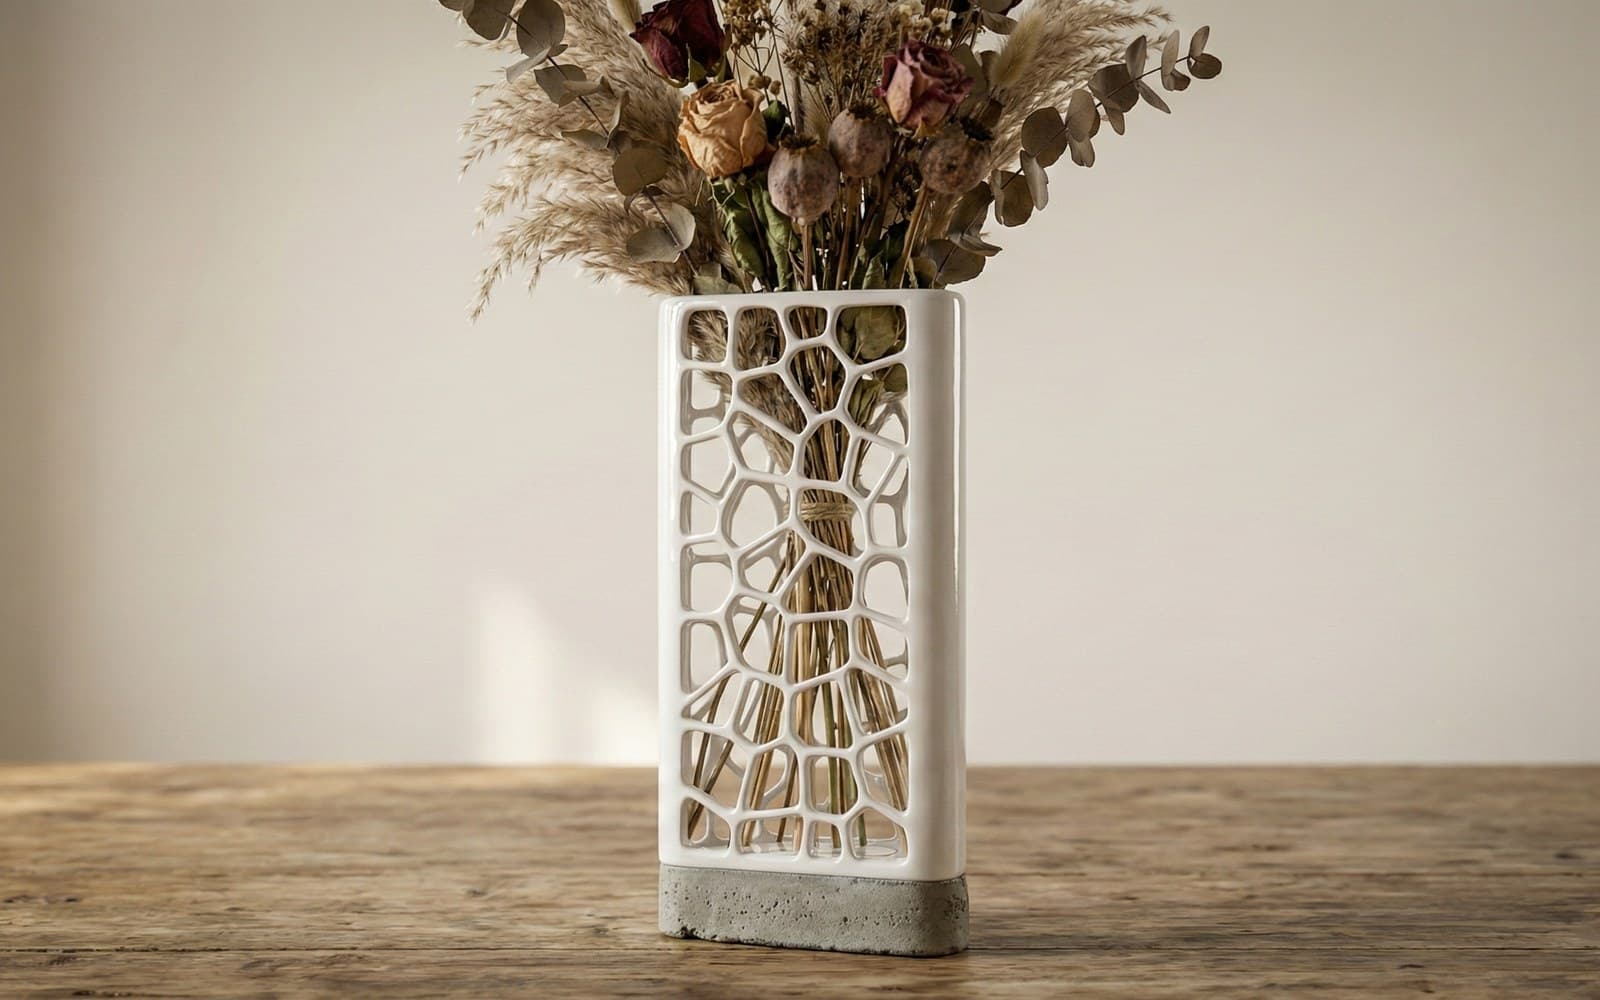
I model in Onshape. I like FeatureScript and often use Hexinfill, which generates a sketch filled with hexagons that you can extrude into a honeycomb grid. For a long time I wanted something similar for Voronoi: simply a generator right in Onshape, without jumping between tools.
What is Voronoi? A pattern that divides a surface into cells by the nearest point. You pick a few points, and every bit of space “belongs” to the one it is closest to. The result is a network of irregular polygons that look natural, like cracks in dried mud, soap foam or bone tissue. It is light and still strong, and changing the density of the points or the rounding of the edges gives it a completely different character, from delicate “lace” to a coarse technical grid.
Getting Voronoi into Onshape the long way, through SVG and DXF
Until now I did it the long way. I generated the Voronoi pattern in an online tool, exported it and then imported it into a sketch in Onshape. It worked, but every time it meant an extra step, and in practice it was slow and tedious, especially while I was fine-tuning the shape.
What slowed me down:
- the SVG had to be converted to DXF, because Onshape doesn't import SVG directly
- after the export and import, rounded corners often turned into a polyline instead of a continuous curve
- an imported DXF can't be resized in the sketch
- when I got the size wrong, I had to repeat the whole process: generate → SVG → convert to DXF → import into the sketch
So it was clear what I wanted from automating it: less manual work and, above all, size and parameters under control right in Onshape. But Voronoi isn't “just” a pattern — it's geometry and maths, with randomness in the background.
The first version: a pile of errors in the console
Until then I had written a few simple FeatureScripts for my own use. I didn't dare take on a Voronoi generator, though, because a random pattern means more computation and more places where things can break. I did find online libraries with source code for generating Voronoi, but I still wasn't sure I could pull it off in FeatureScript.
Then I tried GitHub Copilot in Agent mode. FeatureScript is similar to TypeScript and its documentation is public, so there was something to build on. I expected to copy the script into Onshape and test it by hand, but since the model can work with screenshots too, that seemed like a reasonable compromise.
In VS Code I set up a new project, described what the generator should look like, added links to web-based generators and pushed it all to a repository. Copilot made itself a TODO list and started putting together the first version. I copied it into Onshape, committed… and a pile of errors was waiting for me in the console.
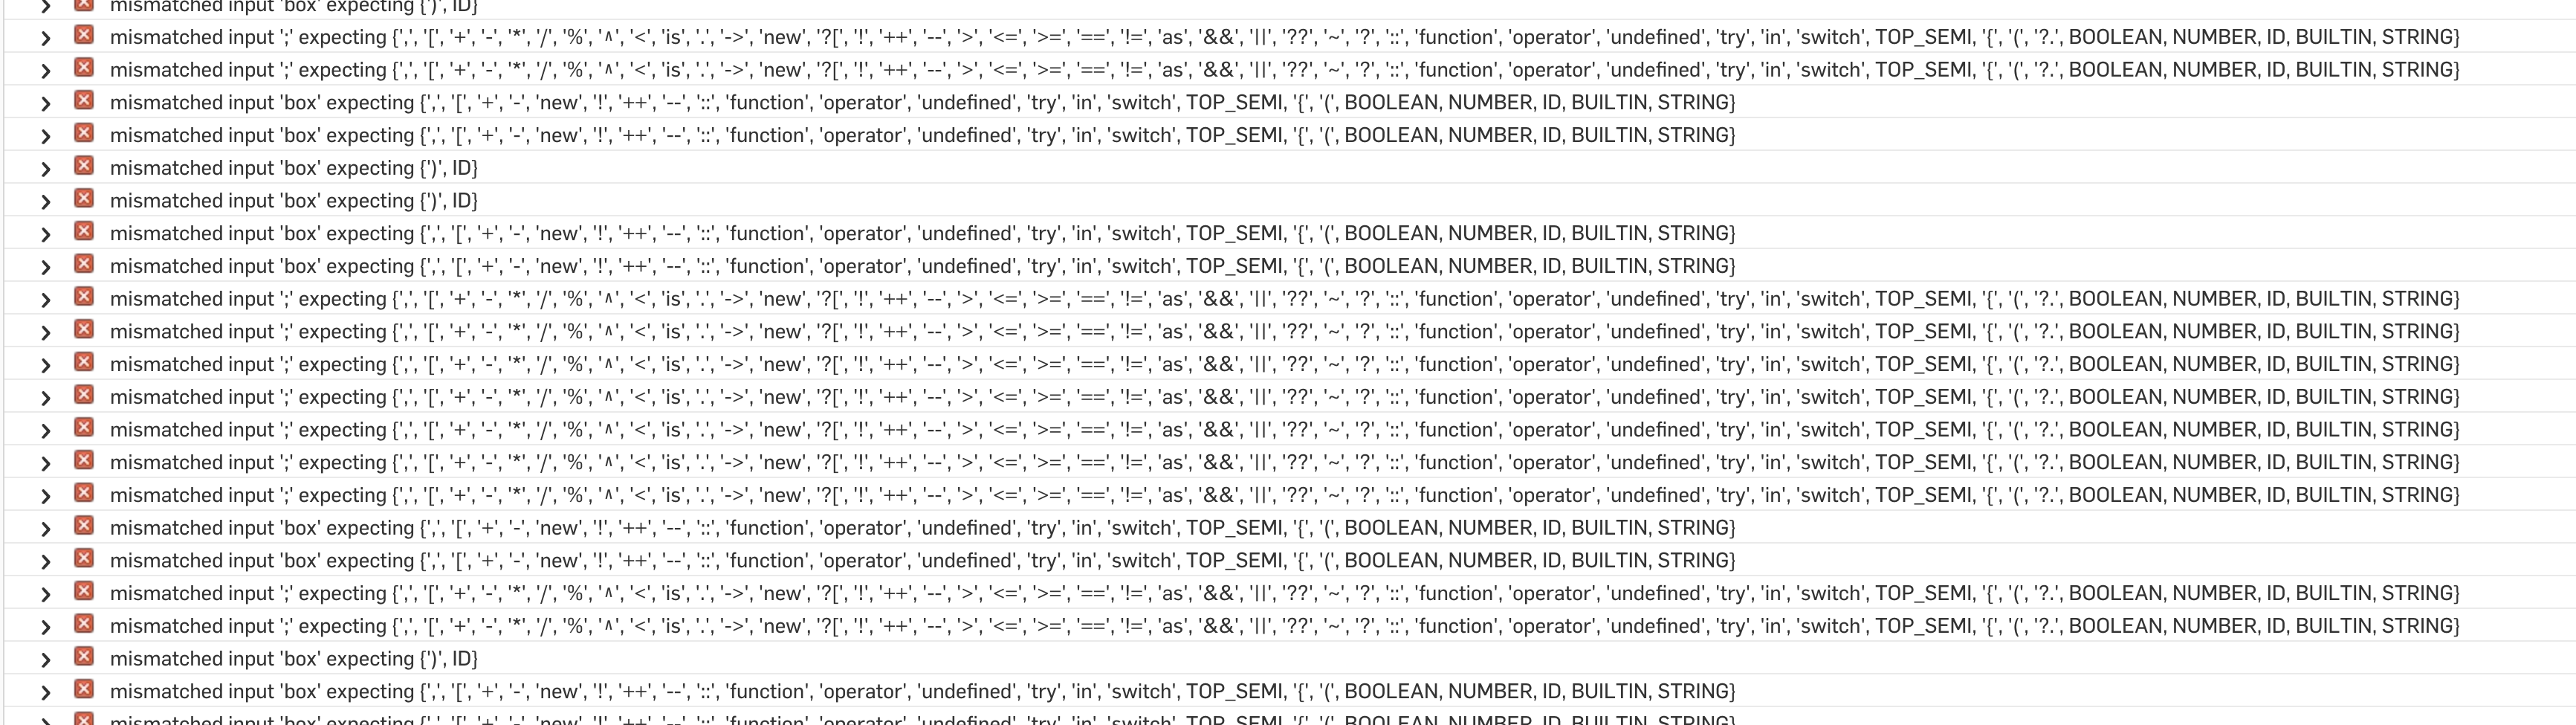
FeatureScript console errors after the first commit
I sent a screenshot of the errors back to Copilot. The second version had far fewer of them, and after two or three more rounds the script finally drew something. The outline of Voronoi cells appeared in the sketch for the first time, and at that moment it started to make sense.
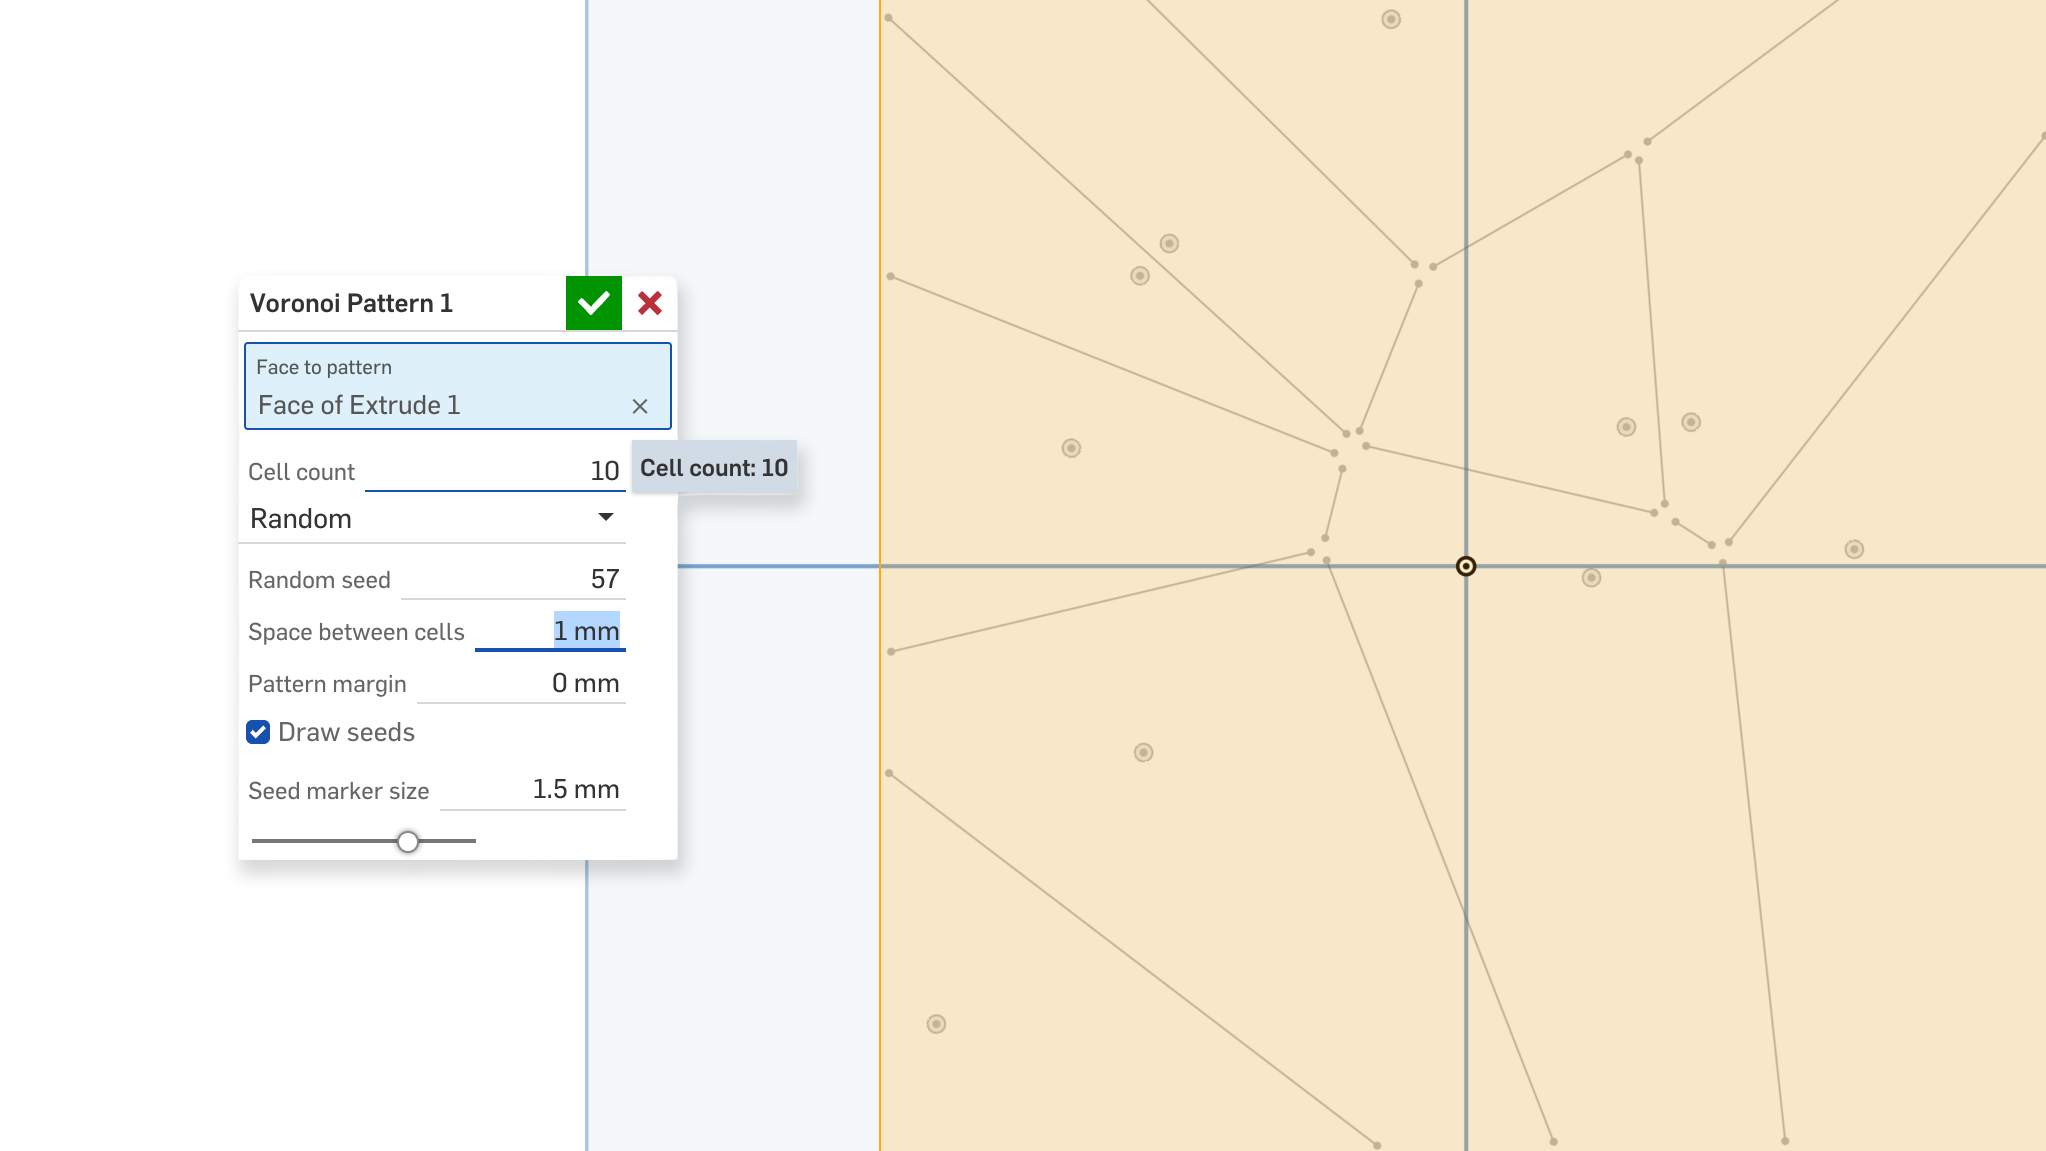
The first generated Voronoi structure
From then on the routine was always the same: a screenshot, a description of what was wrong and how it should be, paste the updated code into Onshape and try again. I barely touched the code by hand; what I adjusted myself was mostly the user interface.
When you run into geometry
In time, trickier problems came up. They were harder to describe, and often I had no idea where they came from. A typical example: cell edges that occasionally crossed each other. Fixes suggested by me and by Copilot sometimes moved the problem along, but often added new bugs. Screenshots and prompts were no longer enough.
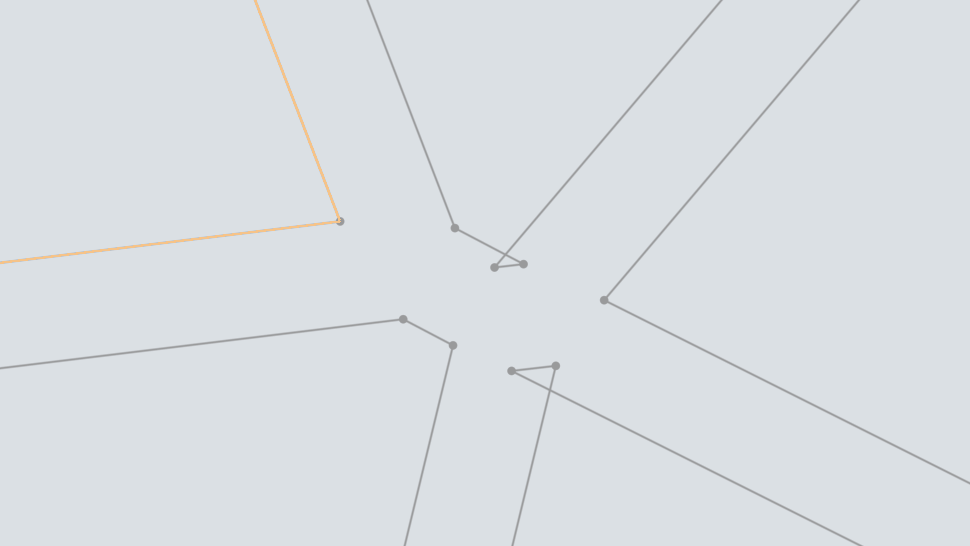
Cell edges crossing at some vertices
I needed to debug the algorithm locally and see the result right in the browser. Copilot couldn't paste the script into Onshape by itself, so I built a separate JavaScript app that ran locally. At the same time I steered Copilot to go through the available libraries again and see whether the solution was there.
I don't know what helped more, the local testing or the second look at the libraries. Either way, it suddenly “clicked” and the problems were solved.
Corners made of line segments, and how to turn them into arcs
Then I kept adding features. One of the first was rounding the cell corners to a given radius. The first result didn't look good, though: instead of a circular arc or a continuous curve, it produced a set of short straight lines.
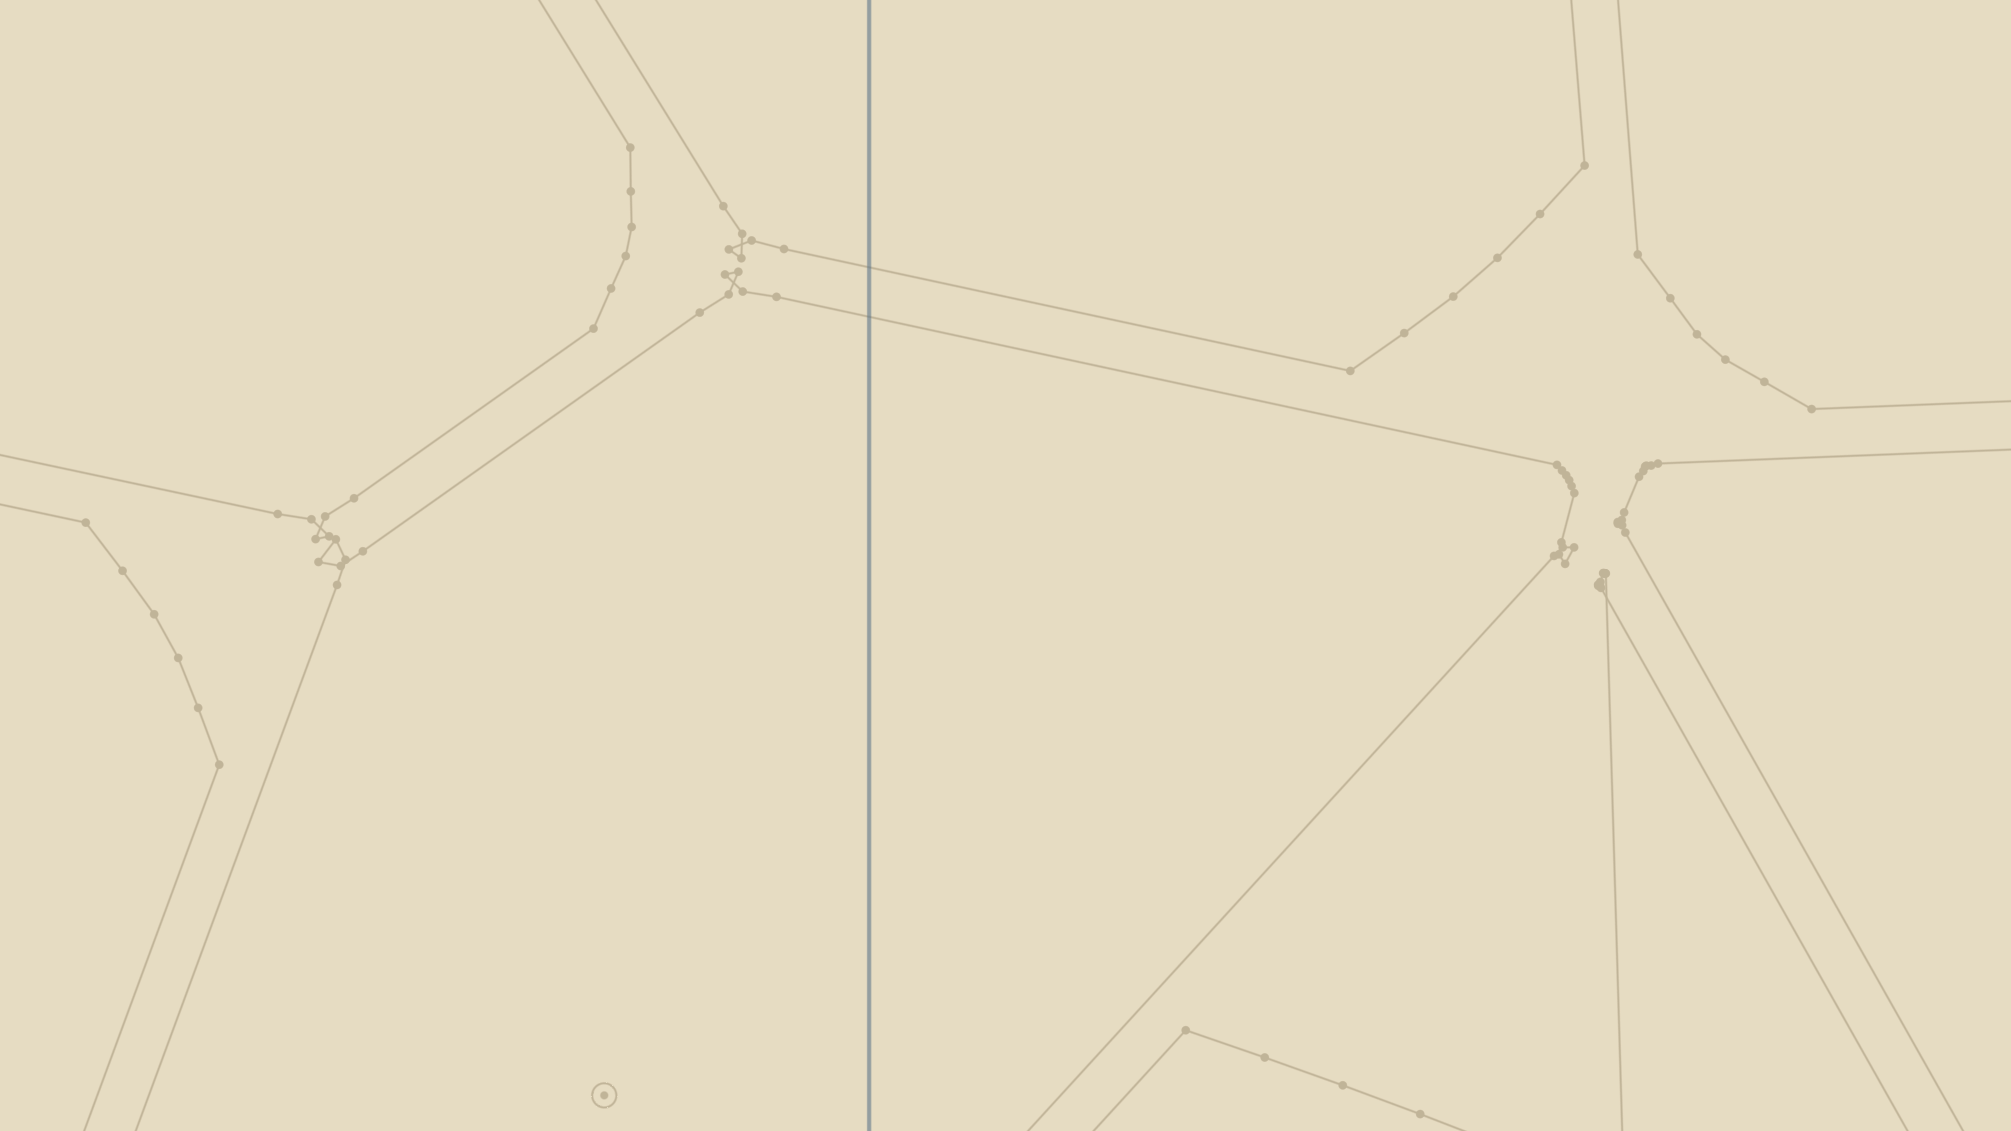
These rounded corners are definitely not ideal
The solution was simpler than I expected. Instead of building an arc out of short line segments, I round the corners with a built-in function right in the sketch. A circular fillet isn't always ideal, but it's fast and good enough in most cases.
What you can set
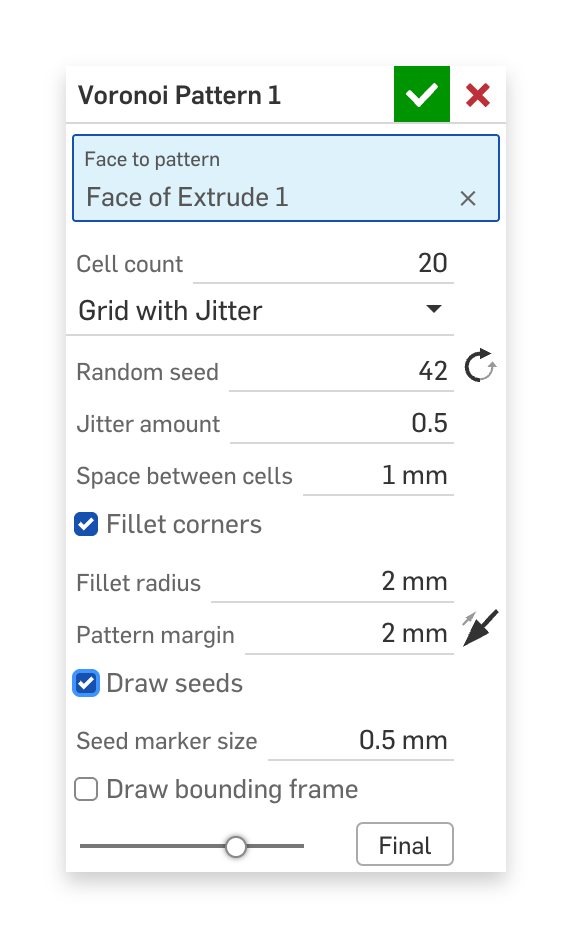
The Voronoi Pattern dialog in Onshape
The pattern is generated on a selected planar face, either a face of a part or a sketch region. In the dialog you then set:
- Cell count — the number of cells
- Seed distribution — how the points the cells grow from are placed: Grid with Jitter (a regular grid with a random offset, the default), Random (purely random, the cells can be very uneven), Poisson Disk (the points keep a minimum distance, looks natural) and Relaxed (Lloyd's) (the most even cells, but the slowest)
- Random seed — a number from 1 to 9999 that sets the randomness. The same number always gives the same pattern, so you can go back to a variant you liked
- Space between cells — the width of the gap between the cells
- Pattern margin — how far the pattern stays from the edge of the face. The arrow flips it, so the pattern runs over the edge instead
- Fillet corners and Fillet radius — rounding of the cell corners
If the pattern doesn't look as “nice” as you want, just click the arrow next to Random seed and you get a new variant. For fine-tuning, you can also show the points the cells grew from and the bounding frame.
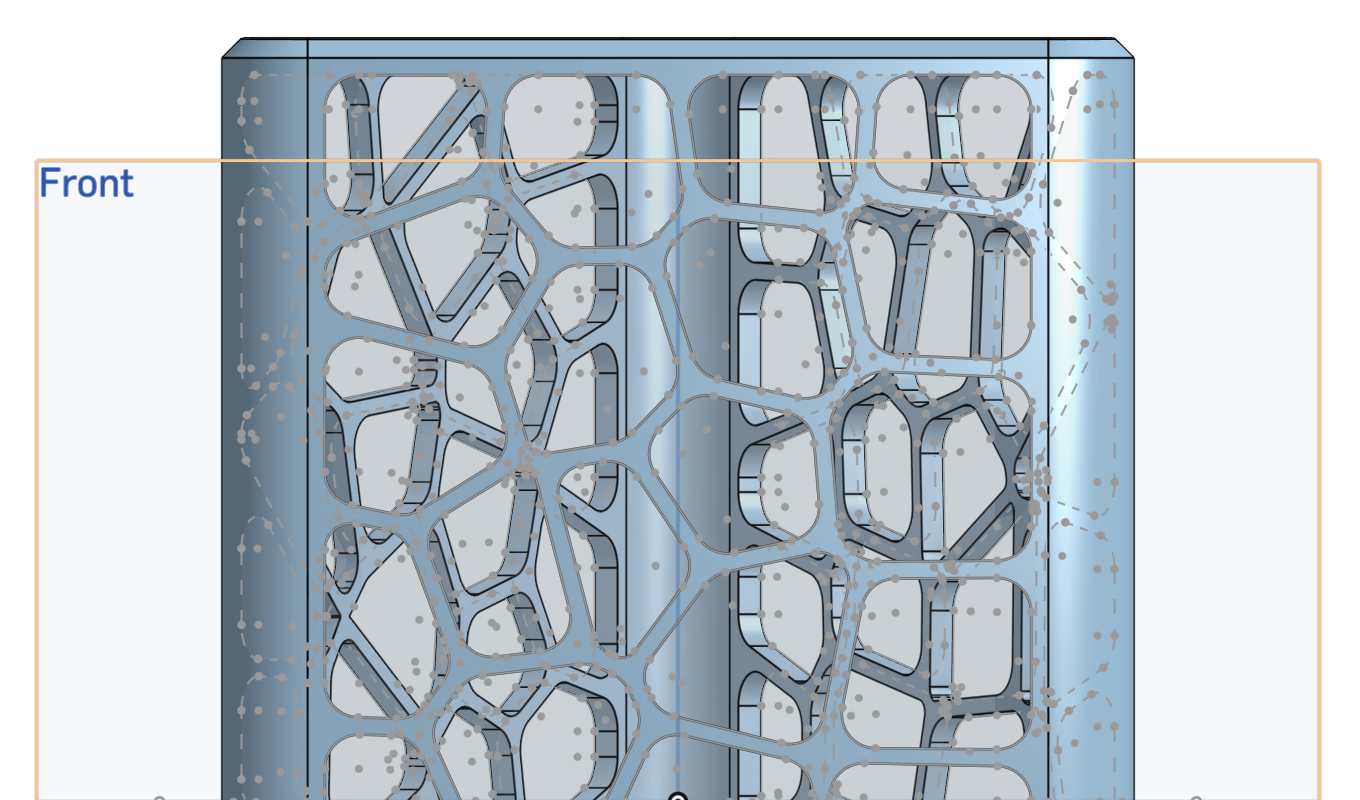
A vase with extruded Voronoi patterns on its walls
How to add the FeatureScript to Onshape
The FeatureScript is free in the public document Voronoi FeatureScript.
- Open the document and, in the Feature Studio tab, right-click Voronoi Pattern.
- Choose Add to Custom Features.
- In a Part Studio you'll then find it among your custom features as Voronoi Pattern.
You'll find the vase from the opening image on Printables as Voronoi Vase with Cast Concrete Base.
If you try the FeatureScript, let me know what you used the pattern for and where it broke, either in the comments or at apps@xfanta.com.
Comments
No comments yet. Be the first.